Distressed Rose Tutorial
I recently used these roses on a layout and thought I would share a tutorial with all of you. They're actually super easy to make!
You'll need some flower punch outs or die cuts in two sizes. I used the tattered floral die from Alterations by Tim Holtz. I like the distressed look but they will look just as great without any distressing.
1. The first thing is to get three big flowers and two small ones. You can see I used the bigger and medium flowers from the TH die.
2. Now that you have your distressed flowers, let's move to the next step. Use a mister to spray some water over the flowers. Just a tiny spray will go a long way, you don't want the layers to tear while you're assembling the rose.
3. Now take one flower and fold the petals towards the bottom, as I show in the picture. I use my fingers, but you can use a pencil or an embossing stylus.
4. Your flower should look like this:
5. Now take your flower and gently fold the petals toward the center. I use my thumb, so I just put the flower and press gently to create a "bowl" like the one you see in the picture:
6. Repeat this step with one other big flower. Your two layers so far should look like this:
7. The third big flower layer you basically do the same folding of the petals, but try to get the "bowl" in the middle a little smaller and the petals should look tighter like this:
8. Now onto the small flowers. Fold the petals towards the bottom of the flower as you did with the big flowers.
9. Now, instead of creating a "bowl" in the middle, squeeze it towards the center so the petals are really tight
10. Now the last small flower, you will need to squeeze even tighter so the center cannot be seen. I usually take it from the bottom and squeeze it like you see on the picture.
11.Now take your scissors and snip off the bottom as seen in the picture:
12. This is what you should have now:
12.The last step is to glue all the layers, and you're done!
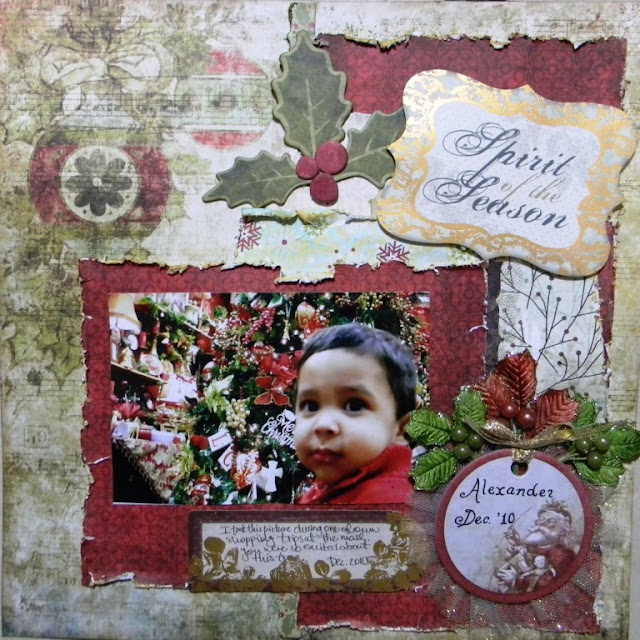
And here's the layout where I used them. The smaller ones are done the same way, except instead of three big flower layers, you use the same size of flower.


Thanks for the tutorial. I am so going to make some of these.....
ReplyDelete