Distressed Gardenia Tutorial
Hi everyone! I was playing around with my zutter distrezz it all and trying to make a flower similar to the Prima Calcutta flower. What you need:

1. The first thing to do is to cut the petals. I used my cricut Home Accents and cut 8 petals on each one of these dial measures: 2 3/4", 3", and 3 1/2". If you don't have a cricut you can create your own petals in different sizes or create a stencil so all of your petals are similar in size.

2. I used the zutter distrezz-it-all to create the grunged look on all the petals. This look can also be achieved by using a distress tool like the Tonic Distress tool by Tim Holtz. If you have neither you can use an xacto knife and rub around the edges.

3. The next part is what gives volume and dimension to the flower. I took my embossing stylus, placed it in the middle of the petal, then pressed the paper around it to create a middle crease.


4. Now, holding your petal in the same position, fold each one of the sides down as shown on the picture.

5. Ink your petals with fluid chalk ink. I used Colorbox in Rouge

6. Cut a round piece of cardstock and pierce a hole in the middle. This is going to be the base for the flower, but you need some space to slide the flower stems when you are done.

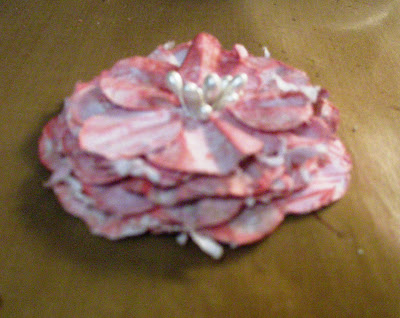
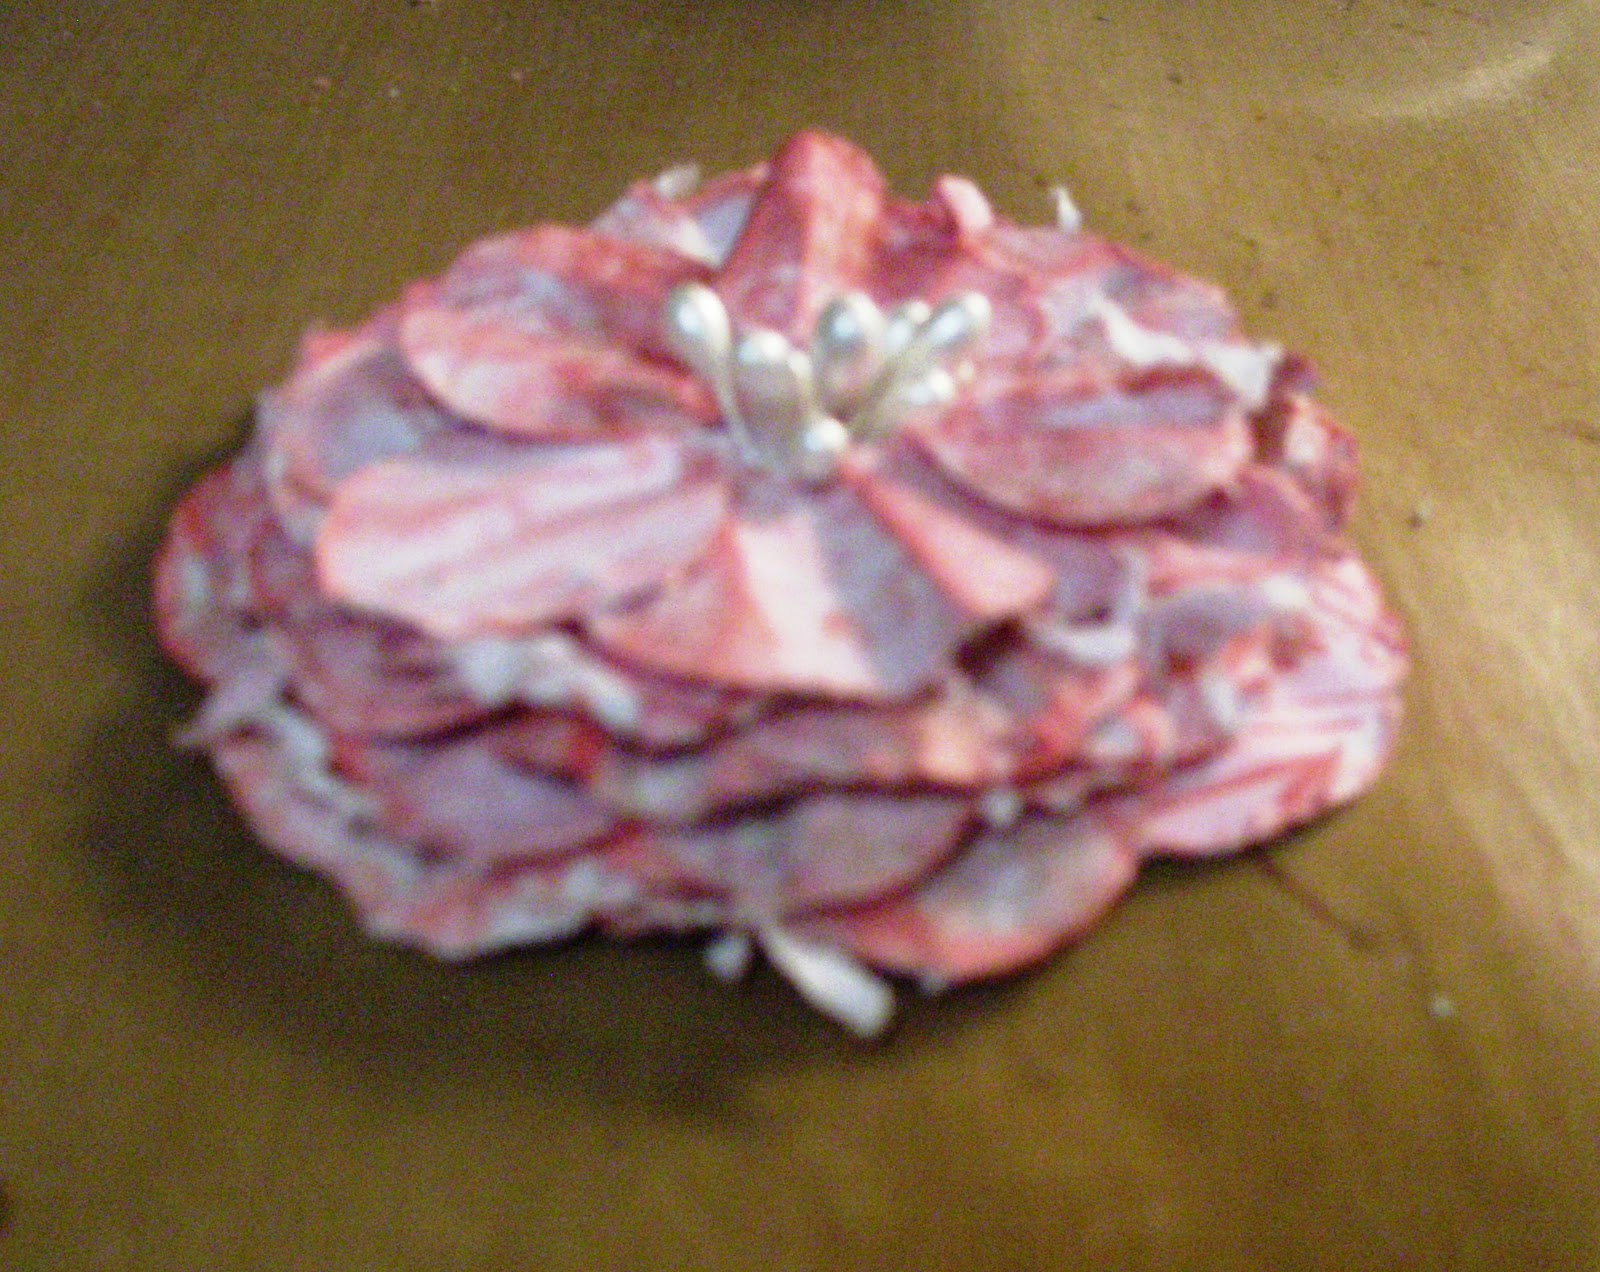
7. Start gluing the petals with a fast drying glue. I personally love Liquid Stitch because it dries super fast and it's permanent. But if you are using thin paper then it may get wrinkled because it is really thick. Make sure you laid them down around the circle and overlapping with the previous petal as shown in the picture.

8. Once you have glued all the layers of your petals you are ready to slide the stems. I used 4 stems that create 8 little knobs for the flower center. I then used a piece of tape on the back to secure the stems.


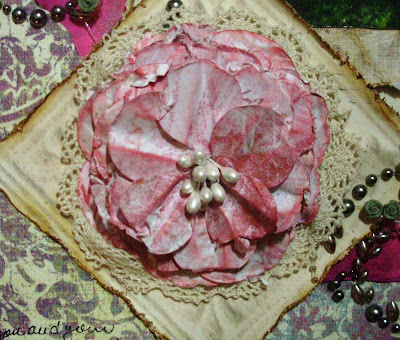
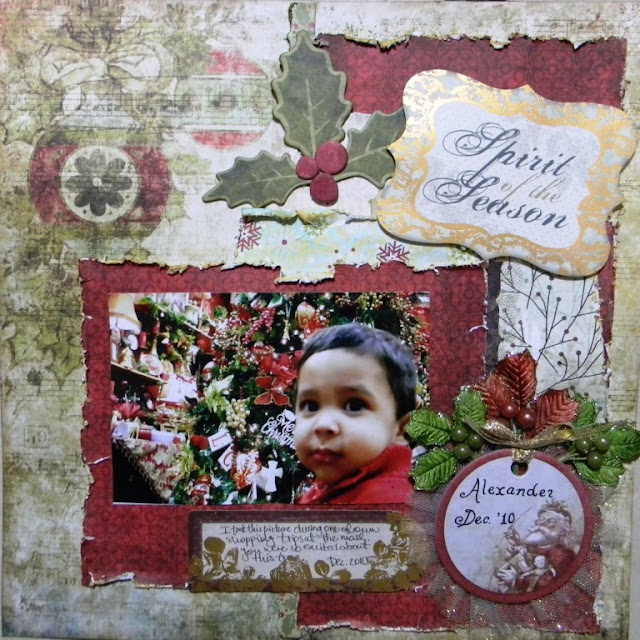
Done! This is the flower in my layout "Tia" which means aunt in Spanish.

- Paper (preferably thick cardstock)
- glue
- Scissors or Cricut
- the zutter distrezz it all or distress tool
- Chalk ink
- Flower stem centers (I bought the ones I use here at Hobby Lobby, they are usually in the bridal section). Here's a picture if you have no idea what I'm talking about, LOL!

1. The first thing to do is to cut the petals. I used my cricut Home Accents and cut 8 petals on each one of these dial measures: 2 3/4", 3", and 3 1/2". If you don't have a cricut you can create your own petals in different sizes or create a stencil so all of your petals are similar in size.

2. I used the zutter distrezz-it-all to create the grunged look on all the petals. This look can also be achieved by using a distress tool like the Tonic Distress tool by Tim Holtz. If you have neither you can use an xacto knife and rub around the edges.

3. The next part is what gives volume and dimension to the flower. I took my embossing stylus, placed it in the middle of the petal, then pressed the paper around it to create a middle crease.


4. Now, holding your petal in the same position, fold each one of the sides down as shown on the picture.

5. Ink your petals with fluid chalk ink. I used Colorbox in Rouge

6. Cut a round piece of cardstock and pierce a hole in the middle. This is going to be the base for the flower, but you need some space to slide the flower stems when you are done.

7. Start gluing the petals with a fast drying glue. I personally love Liquid Stitch because it dries super fast and it's permanent. But if you are using thin paper then it may get wrinkled because it is really thick. Make sure you laid them down around the circle and overlapping with the previous petal as shown in the picture.

8. Once you have glued all the layers of your petals you are ready to slide the stems. I used 4 stems that create 8 little knobs for the flower center. I then used a piece of tape on the back to secure the stems.


Done! This is the flower in my layout "Tia" which means aunt in Spanish.


Very pretty...great tutorial!
ReplyDeleteBeautiful Lizz!!! Great tutorial & this is one I'll try for sure :) I LOVE your work honey & can't believe you haven't been creating cards & layouts for years!! You really inspire me, so I thank you SO much :)
ReplyDelete