Posts

Showing posts from June, 2011

Shabby Chic Cards ~ For sale on my ebay!

Image
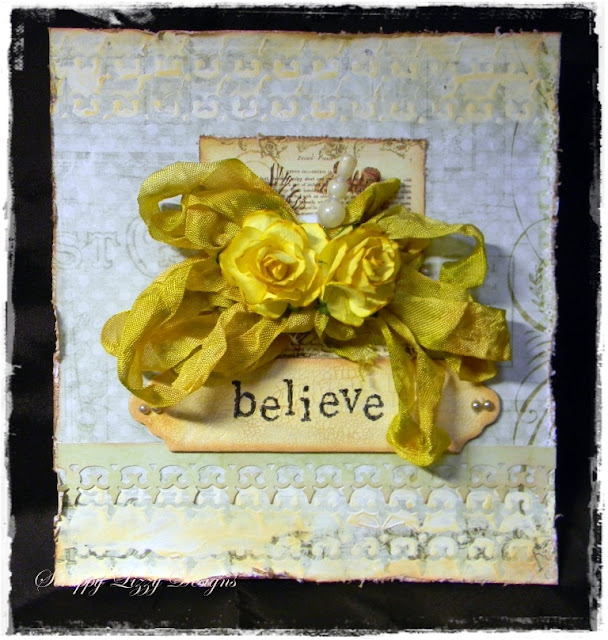
Hi everyone! Here to share a batch of cards made in my favorite style ever: Shabby Chic! and the paper collections I used are so beautiful... Graphic 45 and Gabrielle.  Check out my ebay widget on top for a complete list of my ebay items:   And also a card that I made inspired by one of Lisa's blog posts (Beyond Beauty) with a 3D cake inside.  My favorite kind of cake is red velvet, so that's what I was going for with the red cake... TFL!!!
Whimsical Shabby Chic Cards ~ For sale on my ebay!

Image
So today was a card-making day... I picked up some stamps and papers and these three beautiful cards were born.  I have them listed on my ebay, here is the link to the Ebay Listing .  I used papers from the beautiful Butterfly Garden from Pink Paislee and added a lot of texture in the details.  Enjoy!   TFL!!!

Dad's Day Cards

Image
Well, Father's Day is upon us and just cannot believe that it is already middle of June and it was 103 degrees Fahrenheit in Texas.  So I definitely stayed inside most of the day.  And I created these two whimsical little cards for father's day.  I was trying to have options to give to my husband. The first one has a nautical air, with the turquoise colors and the beads.  The skeleton clock is Dusty Attic, of course I cannot craft without their beautiful pieces!!!  I inked with blue chalk ink from Cat's Eye by Colorbox and then sprinkled UTEE in bronze.   The stamped background was made using stamps by Papertrey Ink and Distress ink in Broken China.  The "beads" are actually mosaic tiles I bought at Michael's, and the colors are just gorgeous! I made the stick pin using a hat pin and beads from my stash.  I added seam binding in a beautiful sapphire blue color. The next one is a little simpler, and definitely more vintage than whims...

Hand Dyed Crinkle Seam Binding ~ for sale on my ebay!

Image
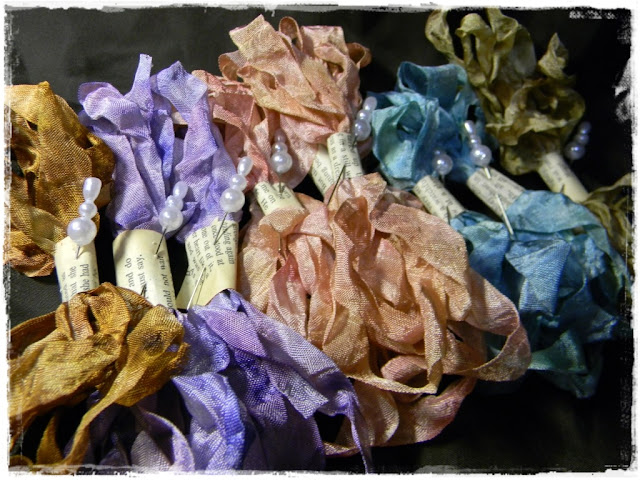
I have had such a blast dying this marvel of sewing transplanted into scrapbooking... I tried several techniques and several ways to mix colors, but in the end I decided not to use glimmer mists because the dye tends to be rather clear on seam binding (unless you use the very dark colors) and then it is hard to combine colors (not to mention each bottle retails for $7 and dying seam binding takes a LOT of misting).   So I opted for using Tim Holtz reinkers, ink pads, stains, and LOTS of water.  You see, distress inks are designed to dry slowly and they are water soluble, so when you add even a tiny drop and then add water, it expands quickly.  So depending on the color I want I used complimentary colors of seam binding and inks.   This is rather a trial and error endeavor, and believe me, I have messed up several yards of seam binding!  The basic technique is adding one or two drops of reinker ink to a mini mister and then fill up with water. ...