Pointy/Pinwheel Flowers
These are simply chic flowers for your geometric-style LOs. I created them when I saw this paper pattern made up of little gift boxes.
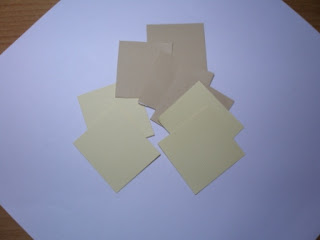
First, you need to cut up a bunch of squares - the bigger they are, the easier it will be to make the flower. I have a square punch, or you can use a stencil or your cricut shapes.
There's no fixed number of squares, it depends on how full you want your flower.... I used 13 squares roughly the same size. Once you have them all cut up, the next step is to fold them neatly so that their corners match as I show in the pic.
Now you can get your brad and start assembly. I used a brad with long prongs because the cardstock I used was thick, but if you use designer paper you might get away with using a smaller brad. Also, to make my life easier, I used my xacto knife to puncture the places where the folded squares will go into the brad, but that's just me.
When you have all of your folded squares inserted into the brad, this is basically what you will have:
This would be ok to use in a layout, but to me it felt like it needed some pizzazz... So, I started folding the edges of the squares/now triangles to get more volume and this is the result:
I used some Tattered Angels Glimmer Mist to add some shine, just so it fits with my blingy LO.
The next step is entirely optional, but I wanted to add some coverage to the sides of the brad, so I used one more folded square and cut it in half.
 Then I cut up the pointy side through the middle and curled up to fit around the sides of the brad.
And this is the flower that I ended up with:

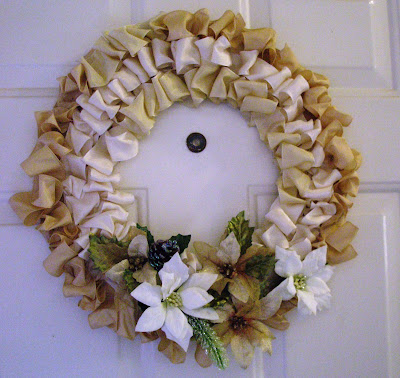
This is the LO I was working on when I came up with the pointy flower idea... BTW, a lot of the embellies here are part of giftbags my son got for his birthday! The little scrunchy ribbons were part of a giftbag. I used the tissue paper to create the other flowers in this LO. I will be posting more details soon, stay tuned!!
This is the detail of the pinwheel flower... It was tiny but I thought it looked appropriate with all the fun coloring going on...
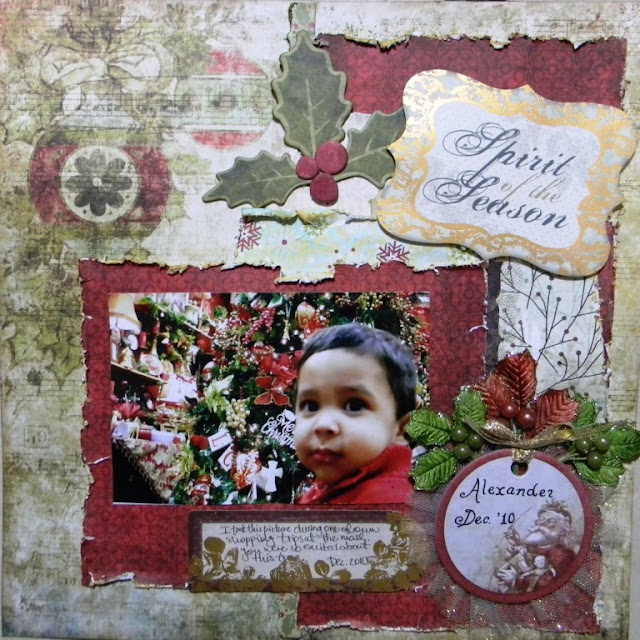
And this is the LO where I used the flower I made for the tutorial. I wanted to juxtapose the pointy edges in the flower with the soft circles... The possibilities are endless!
I'm thinking of making this flower in red, white, and blue for my 4th of July LO this year! I'll be posting details soon... TFL!
First, you need to cut up a bunch of squares - the bigger they are, the easier it will be to make the flower. I have a square punch, or you can use a stencil or your cricut shapes.
There's no fixed number of squares, it depends on how full you want your flower.... I used 13 squares roughly the same size. Once you have them all cut up, the next step is to fold them neatly so that their corners match as I show in the pic.
Now you can get your brad and start assembly. I used a brad with long prongs because the cardstock I used was thick, but if you use designer paper you might get away with using a smaller brad. Also, to make my life easier, I used my xacto knife to puncture the places where the folded squares will go into the brad, but that's just me.
When you have all of your folded squares inserted into the brad, this is basically what you will have:
This would be ok to use in a layout, but to me it felt like it needed some pizzazz... So, I started folding the edges of the squares/now triangles to get more volume and this is the result:
I used some Tattered Angels Glimmer Mist to add some shine, just so it fits with my blingy LO.
The next step is entirely optional, but I wanted to add some coverage to the sides of the brad, so I used one more folded square and cut it in half.

And this is the flower that I ended up with:

This is the LO I was working on when I came up with the pointy flower idea... BTW, a lot of the embellies here are part of giftbags my son got for his birthday! The little scrunchy ribbons were part of a giftbag. I used the tissue paper to create the other flowers in this LO. I will be posting more details soon, stay tuned!!
This is the detail of the pinwheel flower... It was tiny but I thought it looked appropriate with all the fun coloring going on...
And this is the LO where I used the flower I made for the tutorial. I wanted to juxtapose the pointy edges in the flower with the soft circles... The possibilities are endless!
I'm thinking of making this flower in red, white, and blue for my 4th of July LO this year! I'll be posting details soon... TFL!


Comments
Post a Comment