Posts

Showing posts from June, 2010

Coffee Filter Roses

Image
Happy Monday everyone!  Ok, not so happy, but at least happy scrappin'! This is an amazingly easy way to make a flower to embellish your favorite scrapbookin' LOs.  I used cooffee filters to make this roses and they turned out great! I had read in a scrapbooking magazine a tutorial about making cupcake paper flowers, but this has my own spin on it...Personally. I like coffee filters better than cupcake paper because they are thicker and absorb the inks very nicely, especially if you are using distress ink.  I used size 4 coffee filters, but you can use any size... just bear in mind that the circle you cut will hold all the folds, and the larger the filter, the larger the circle you need.  I used circles of 2.5" to 3" in diameter.  Here's the quick tutorial. Get your coffee filter, desired ink, scissors, glue, and if you like, stickles and a marker. You will also need a circle cut out to set your rose.  .  Lay the filter flat and ink it with your preferred color

Stamped Paper Roses

Image
I have been using TinaR's tutorial to create my own paper roses: http://tina-mypaperpantry.blogspot.com/2010/05/distressed-rose-tutorial.html.  But this is my own spin on creating the same paper rose... Tina, thanks for the inspiration, your LOs are awesomeness! A few pointers here before I start.  The key to making a beautiful looking rose is to have hearts of at least 3 sizes.  Depending on the paper you use and the style you use to scrap, then the finishes will vary.  You will need a brad to hold the rose together, and in this particular case, the longer the prongs, the better it will hold all the layers and still have enough length left to fold over. In this specific case, I fell in love with a stamp with the word love in many different languages and shaped like a heart.  So I wanted to use that stamp on my paper to create a whimsical looking rose.  I used Tim Holtz Distress Ink in Dusty Concord for a purpl-ish color. Using the ink tool from Ranger, I blended the edges of

Pointy/Pinwheel Flowers

Image
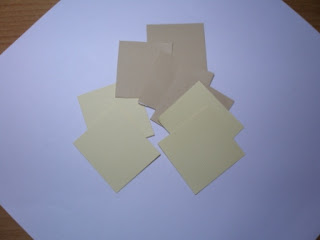
These are simply chic flowers for your geometric-style LOs.  I created them when I saw this paper pattern made up of little gift boxes.  First, you need to cut up a bunch of squares - the bigger they are, the easier it will be to make the flower.  I have a square punch, or you can use a stencil or your cricut shapes. There's no fixed number of squares, it depends on how full you want your flower....  I used 13 squares roughly the same size.  Once you have them all cut up, the next step is to fold them neatly so that their corners match as I show in the pic. Now you can get your brad and start assembly.  I used a brad with long prongs because the cardstock I used was thick, but if you use designer paper you might get away with using a smaller brad.  Also, to make my life easier, I used my xacto knife to puncture the places where the folded squares will go into the brad, but that's just me.  When you have all of your folded squares inserted into the brad, this is basically